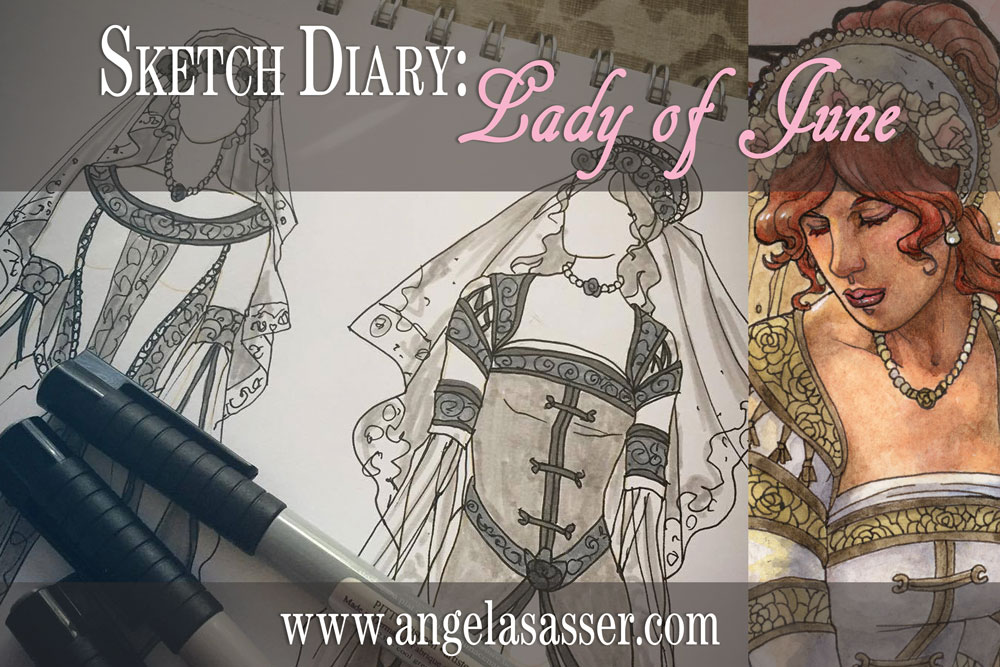
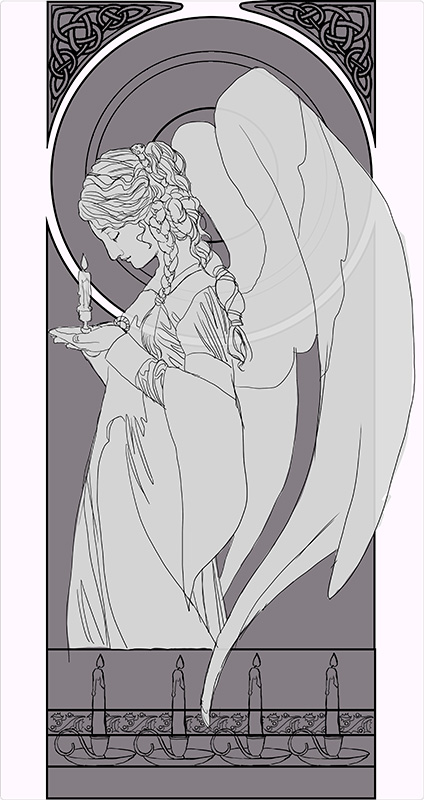
My journey continues this month with Lady of June! Lady of November represented a milestone of high quality and attention to detail in this series that was hard to beat! How could I make the rest of the Ladies as good as November? That was the difficult challenge I set for myself as I moved on to this month and ventured into the first of the Ladies of summertime!
After the dark whimsy of Lady of November, we’ve returned to the Ladies of Summer! Admittedly, this Lady has been a challenge thus far. While November had a lot of amazing imagery to play with, June is more of a subtle time of year. Its celebration of youthfulness and young brides reminds of May’s themes, with one of the only unique events being the Summer Solstice. I’ve been struggling to find Lady of June’s unique visual story to make her different enough from the other Ladies, but that’s what research is all about!
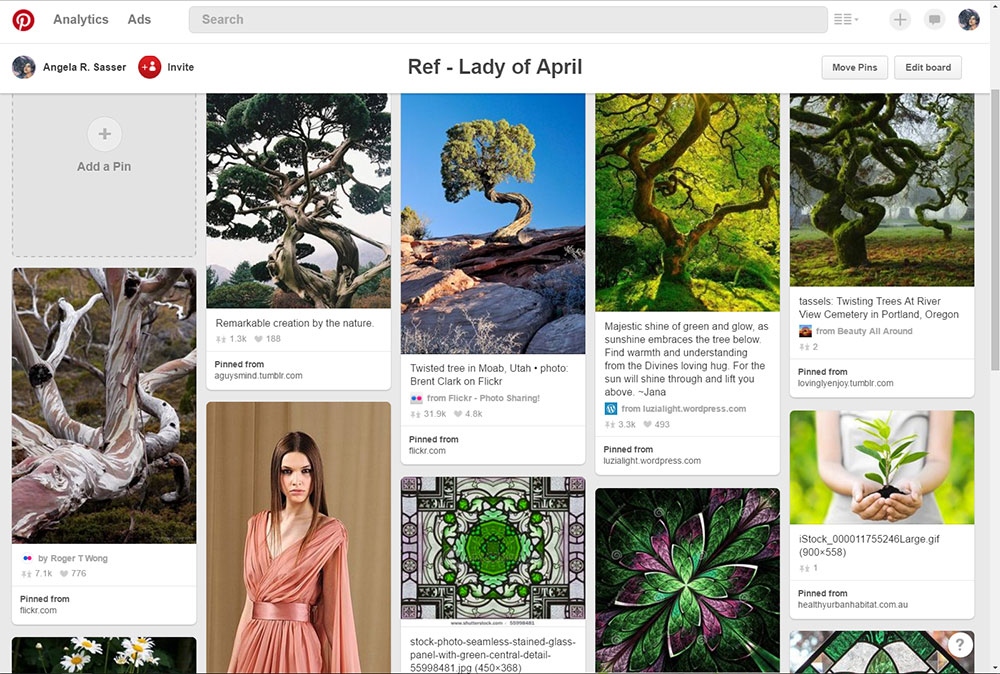
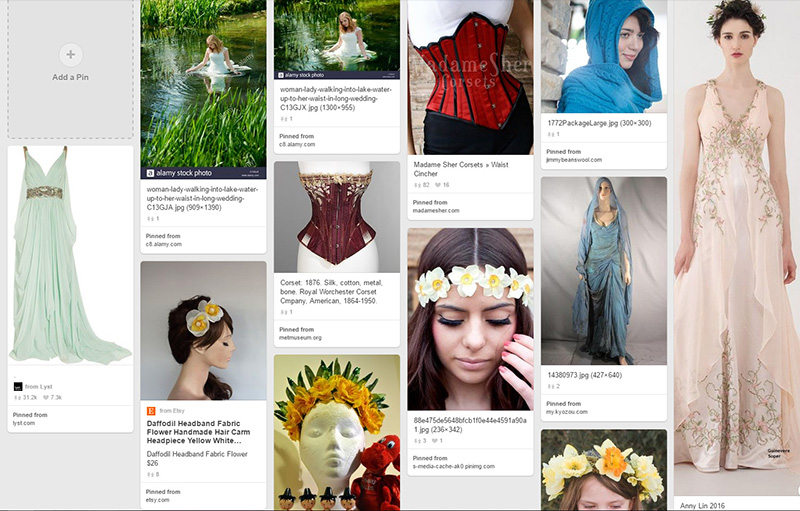
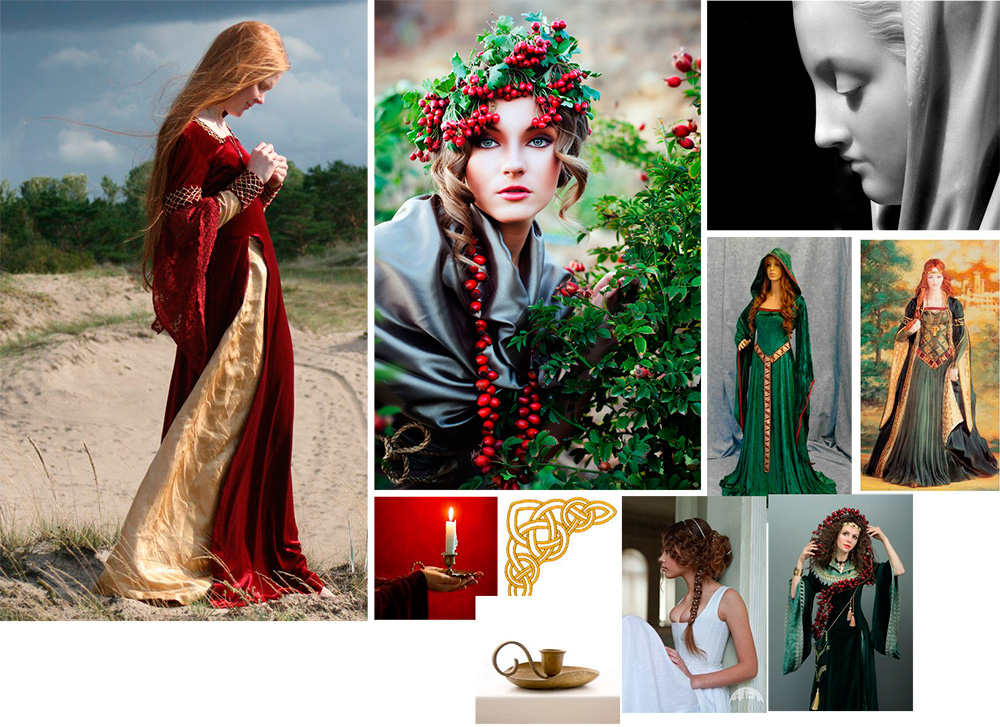
MOOD BOARD
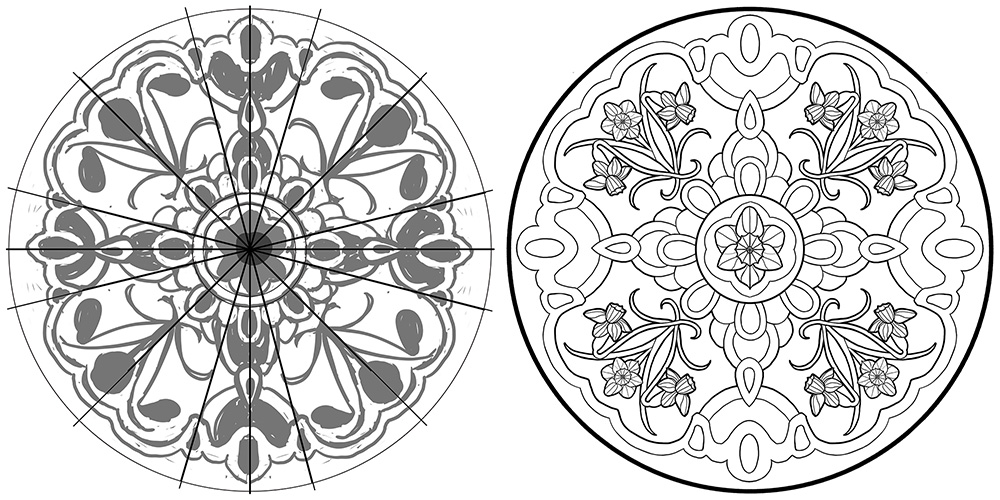
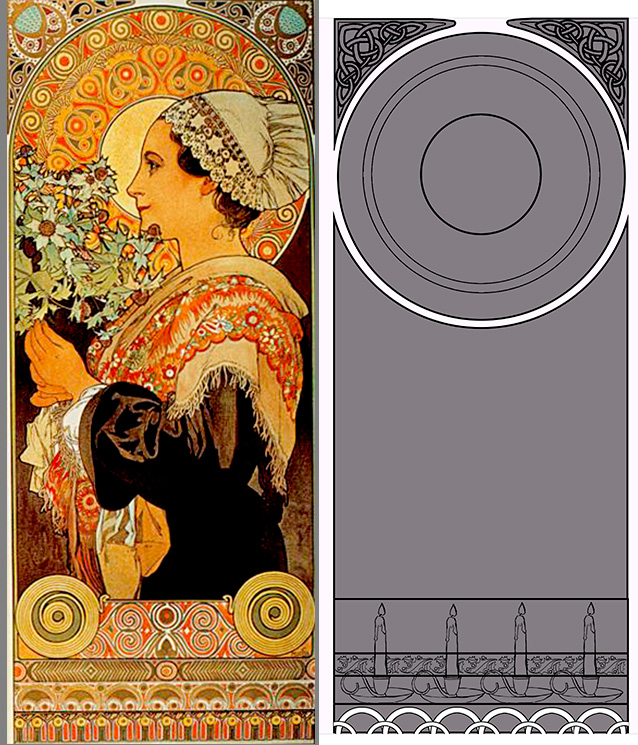
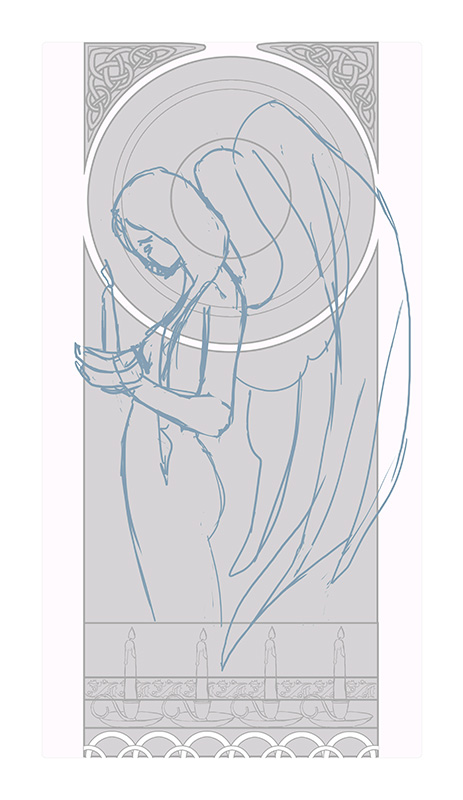
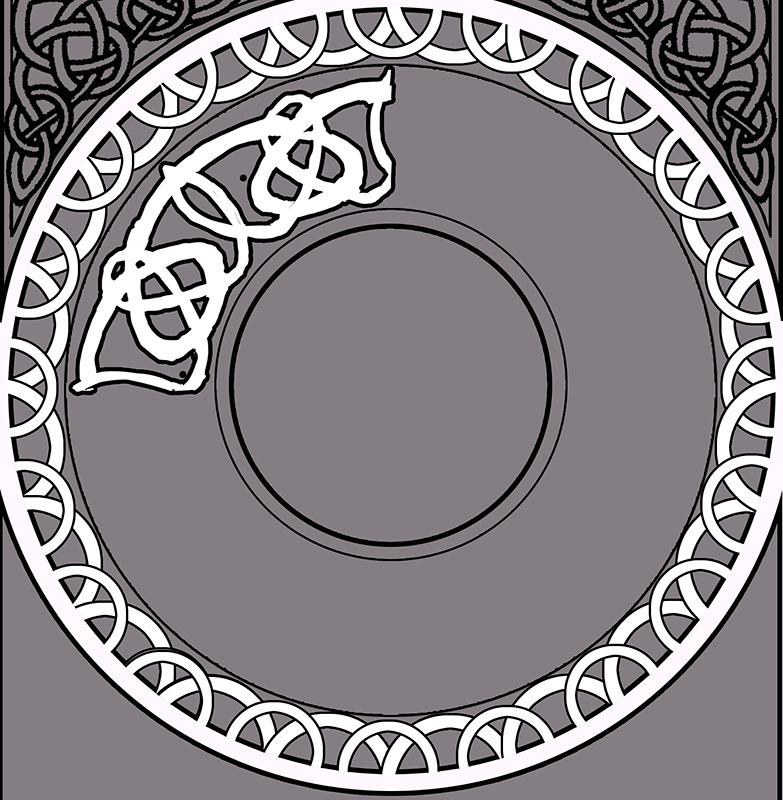
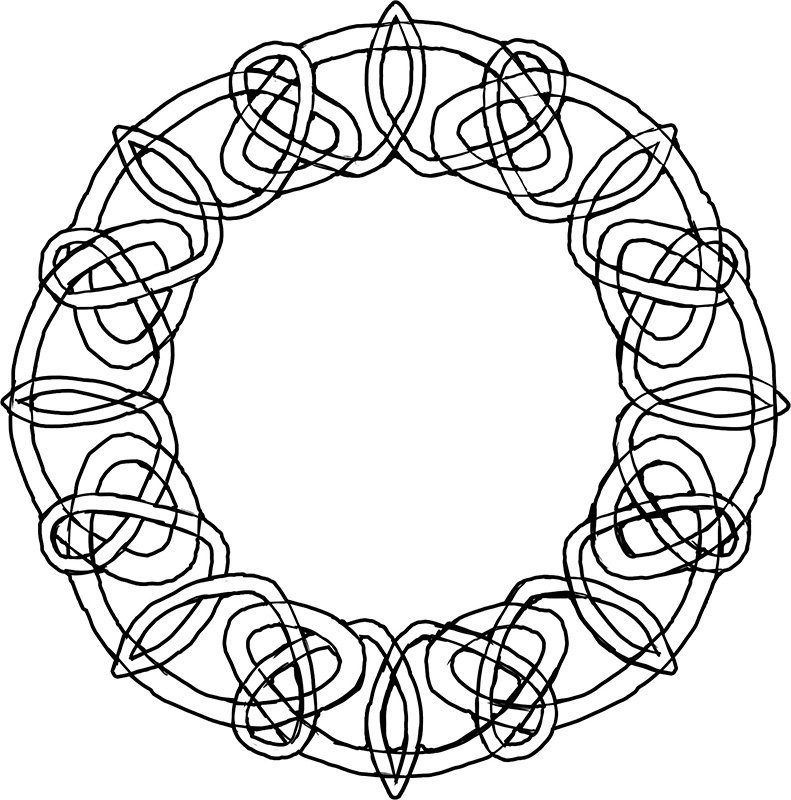
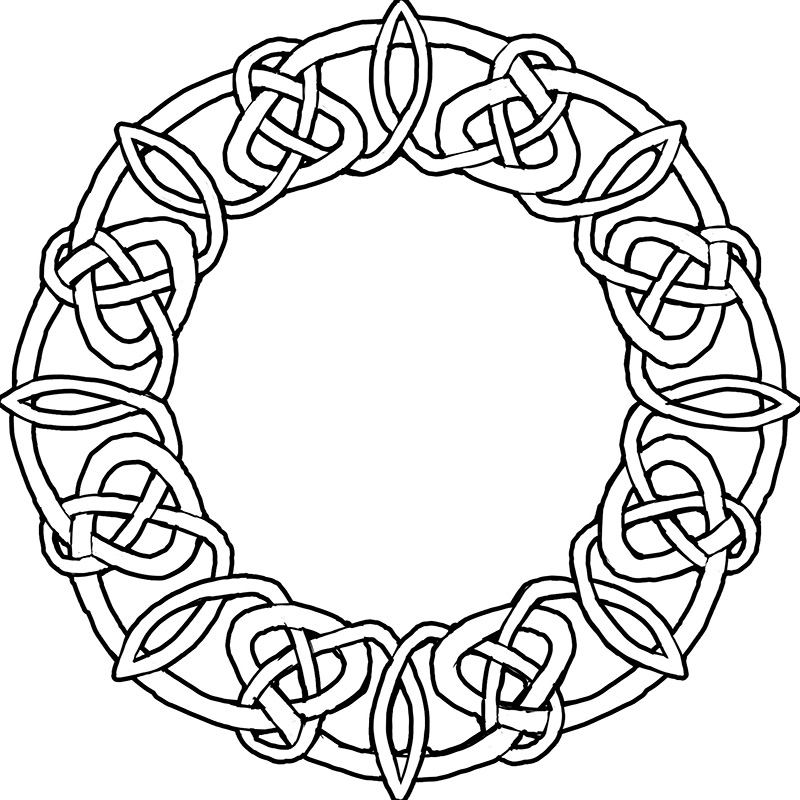
One of the most prominent themes I found while researching the Summer Solstice via Pinterest image gathering was the celebration of Litha and the Sun Wheel. The Solstice celebrates the reigning power of the Sun. The Sun Wheel was an old tradition where a representation of the sun was set aflame and rolled down a hill to symbolize its shifting phases. As soon as I saw the Wheel, I knew it’d be the perfect inspiration for the mandala window!

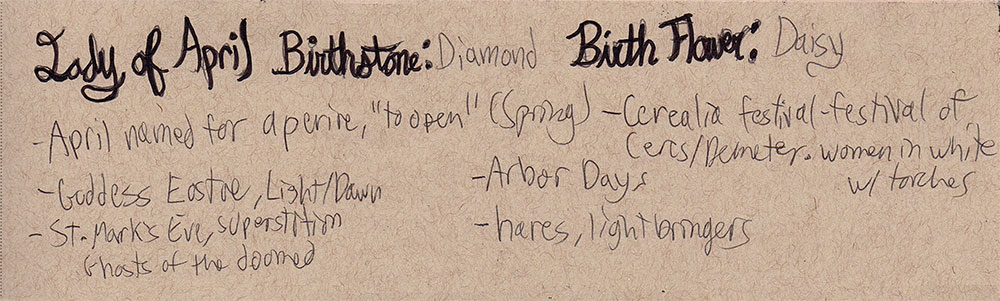
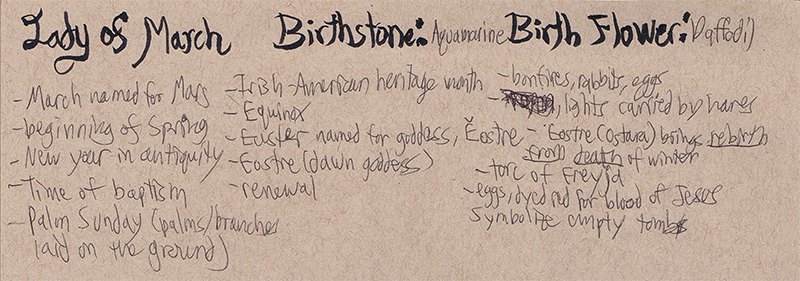
RESEARCH NOTES
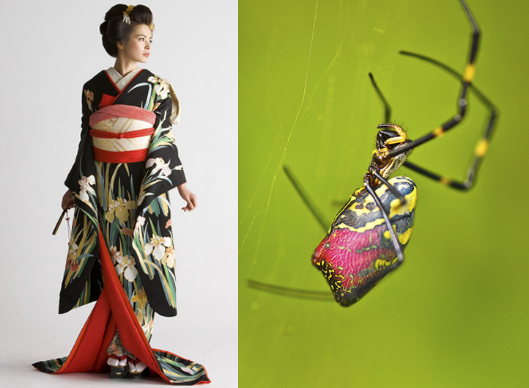
Research for the Ladies always begins with the origin of the month’s name. In this case, June was named for Juno, the goddess of marriage and well-being of women. She was also wife to Jupiter/Zeus. I look across different cultures and see what about this time of year strikes a chord with humanity. June in the northern hemisphere is a high point of Summer, a time of divination, and a powerful phase of feminine power.
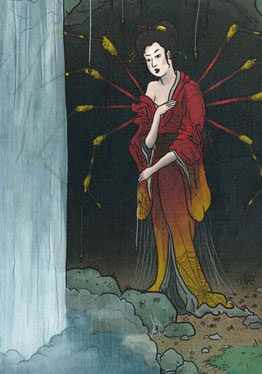
Writing notes helps me to search out the imagery and symbolism I want to include in this Lady’s painting. I think of flowers, plants, and brides. The symbol of the well as a tool of divination also struck a chord with me, which is why it shows up so much in my thumbnail sketches.

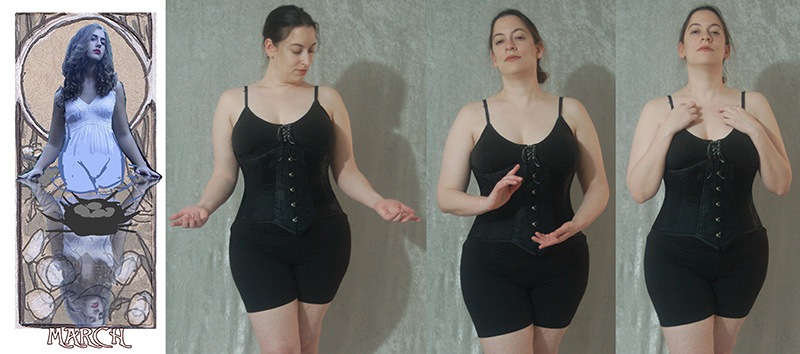
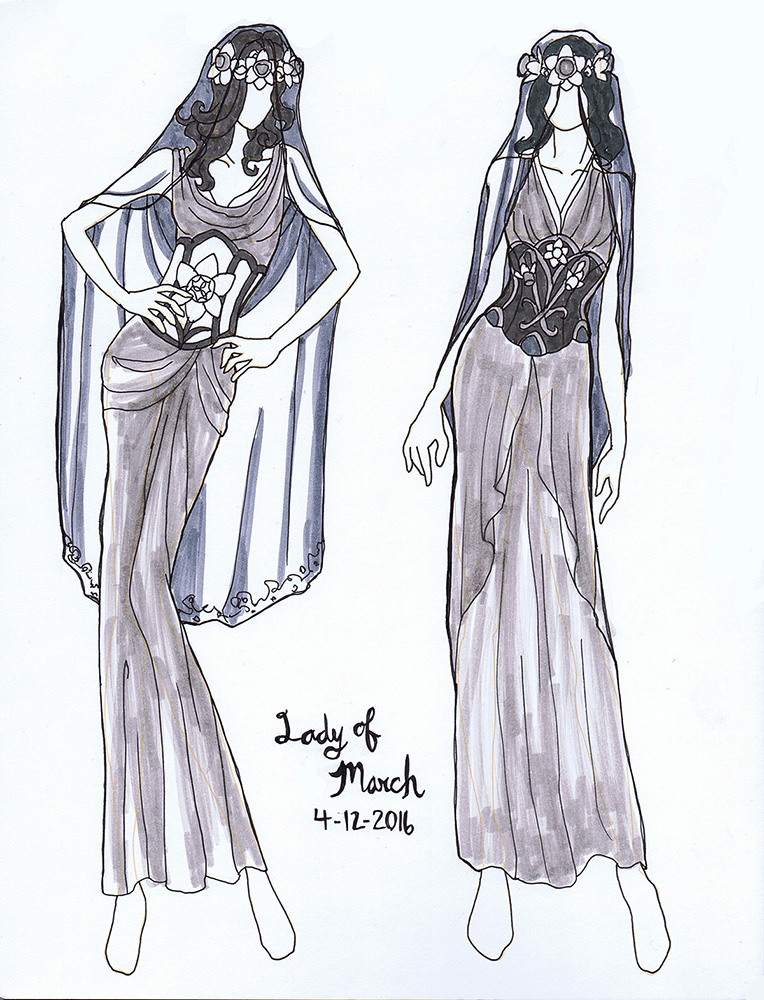
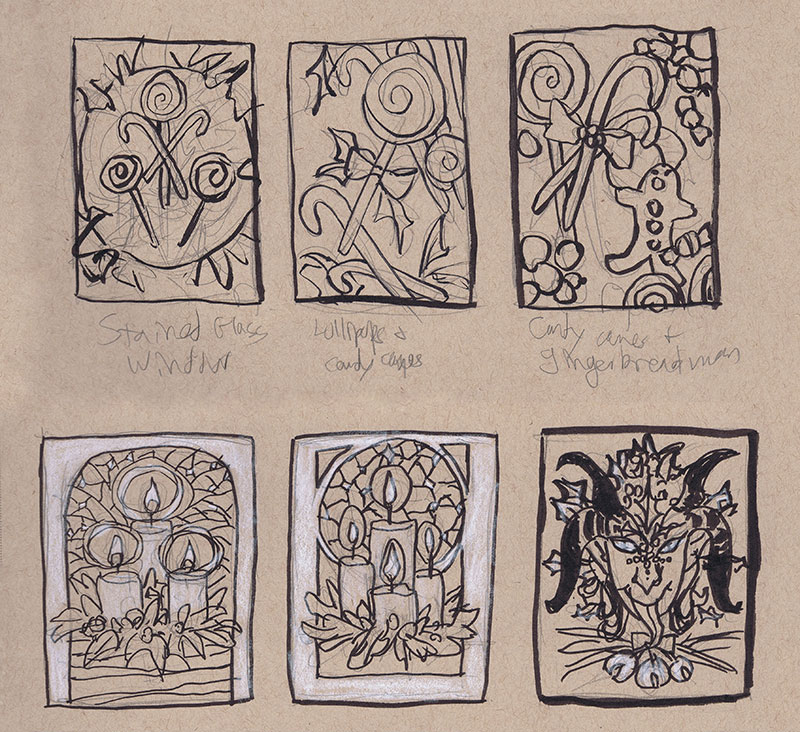
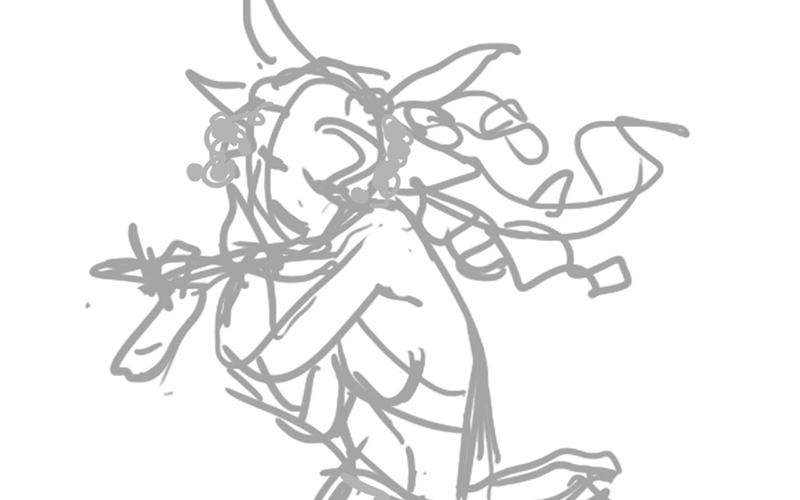
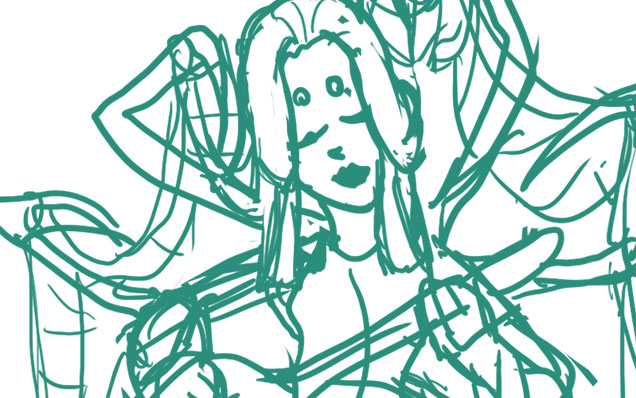
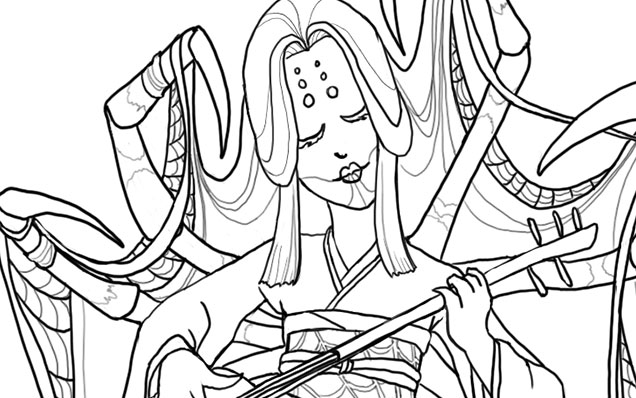
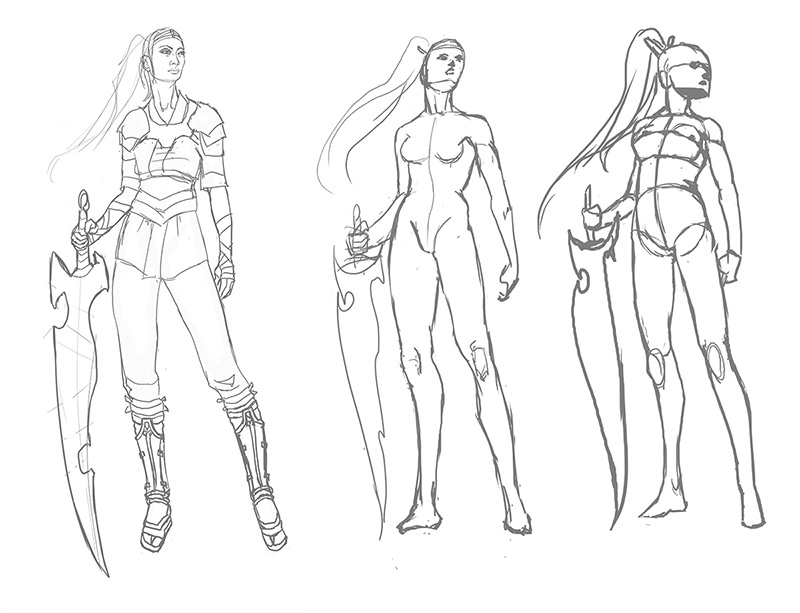
THUMBNAIL SKETCHES
Many of these thumbnails explore using water in a well or pond as a divination tool. 2 and 4 feel a little close to Lady of March, with 4 feeling a bit more like a representation of Vanity. 3 captures a more traditional bridal theme, while 1, 5, 6, and 7 seem to capture that theme of a bride searching for her love in the reflection for a more unified theme. In the end, my favorites are 1, 5, and 6, with 5 and 6 having the clearest shapes and classical feel.


 Unlock with Patreon
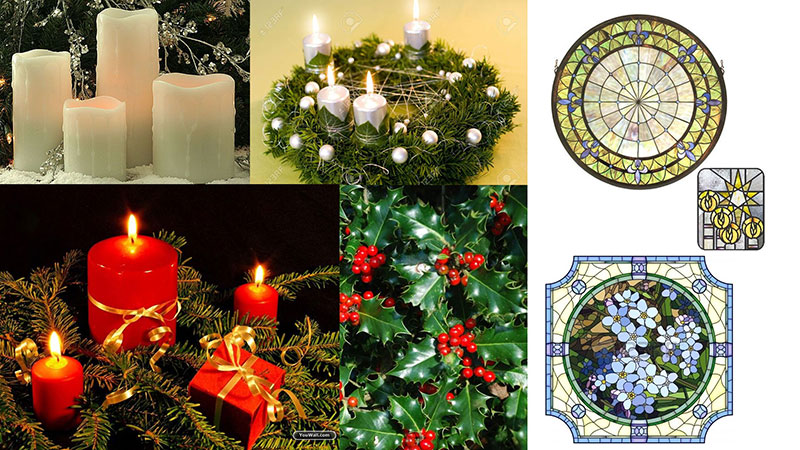


