Category: art techniques

Sketch Diary – Winter Offering

Inspiration: Every year I do a painting to spread the cheer of the winter holidays to my fans, friends, and family.  Keeping in that tradition, I created this piece entitled “Winter Offering” for 2015.

I wanted to capture the quiet warmth of candles, which are one of my favorite decorative elements of the season, and pay homage to some of the Celtic traditions that define the holidays with the presence of evergreen holly and pine.  I also wanted a celestial theme for the window to represent the dark, cold winter nights which the light guides us through.

Tools and Techniques

For this painting, I used Photoshop CC and a Wacom Cintiq 21UX.

References
ref-winter-offering

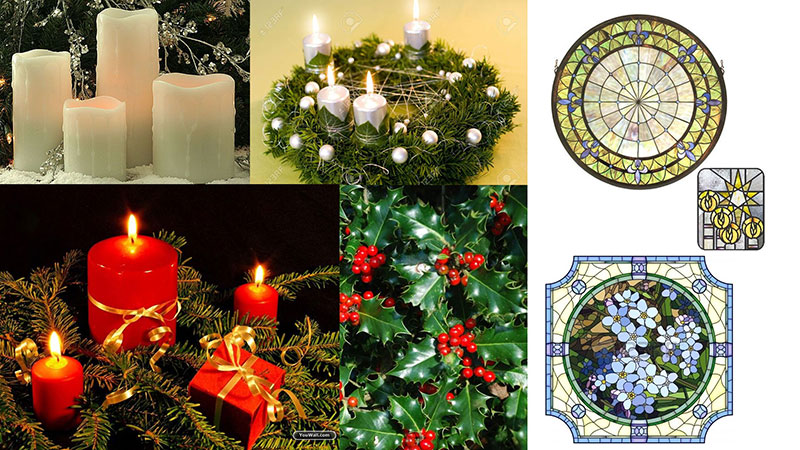
A selection from my references. 

Art Process

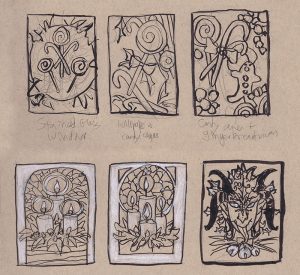
Step 1 – Thumbnail sketching with ink and white color pencil on toned paper to find the right idea. At first, I wanted to do a candy theme, but the candles struck me with their simplicity and elegance. The Krampus one was also a fun contender, but I decided to save him for another time.

wip-candles-thumbnails 

Step 2 –  Reference gathering! I looked at many Tiffany glass windows, wreaths, and white candles for inspiration.  I keep a secret reference board for my yearly holiday images on Pinterest.

Step 3 – I did a rough sketch in Photoshop keeping loose and quick.  The sketch was then printed out and refined with pencil sketching on top of the lightly printed line work.

christmas-2015

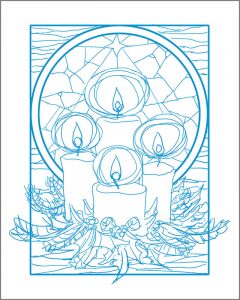
Step 4 – This refined sketch was then scanned in and the lines turned blue so they could be easily transferred.  I also used the same refined sketch to do a digital color test so I had an idea of my colors before I put paint on paper.

winter-offering-color-test

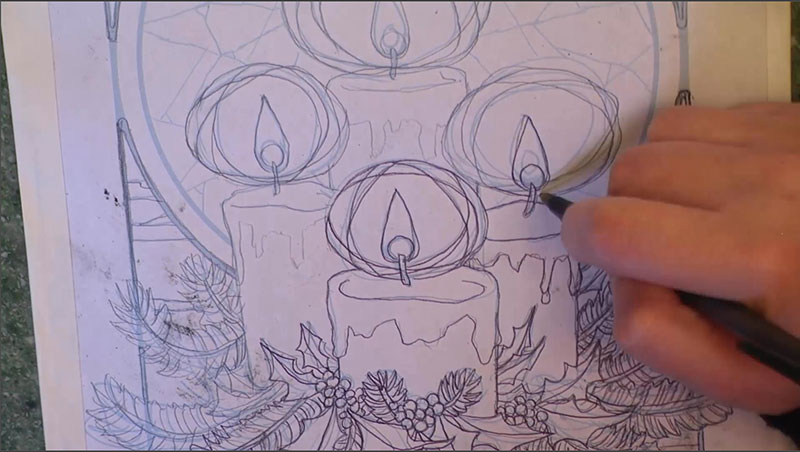
Step 5 – The refined sketch with blue line work was then printed and transferred with graphite dust applied to the back of the printout.
transfer-process

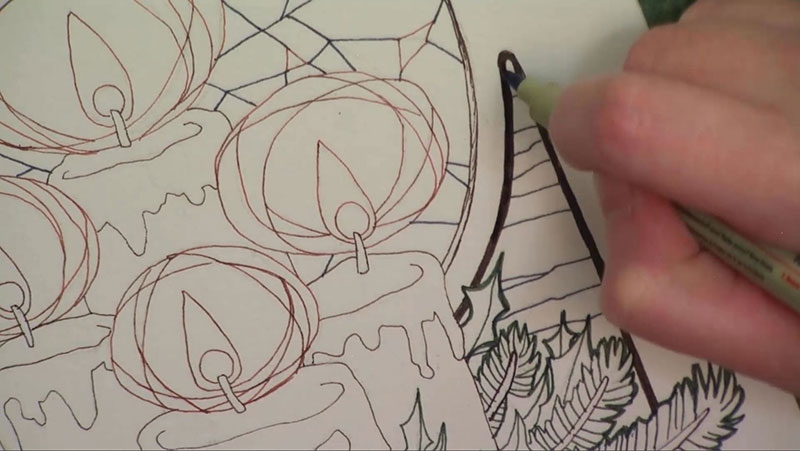
Step 6 – The transferred line work on the illustration board were inked with various colors of mechanical pens for visual contrast and interest.

colored-ink

Step 7 – The ink drawing was finished with watercolor paints.

You can also watch the 5 minute time lapse video of how I created this painting here!

For more in-depth instruction on how I created this image, including the brands of materials I used, tips on creating a stained glass style in watercolor, etc., pledge to any $10 and up level on my Patreon to gain access to the narrated video tutorial!

You can also buy the individual tutorial separately at my Gumroad shop, but you won’t receive the other extras you would by purchasing via Patreon.
Sketch Diary – Monster Girl Spider

Inspiration

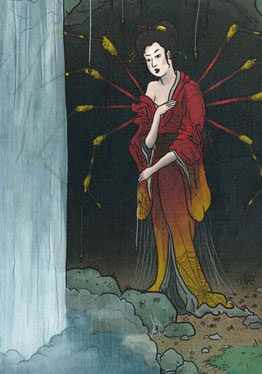
Jorogumo Illustration by Matthew Meyer
Jorōgumo Illustration by Matthew Meyer

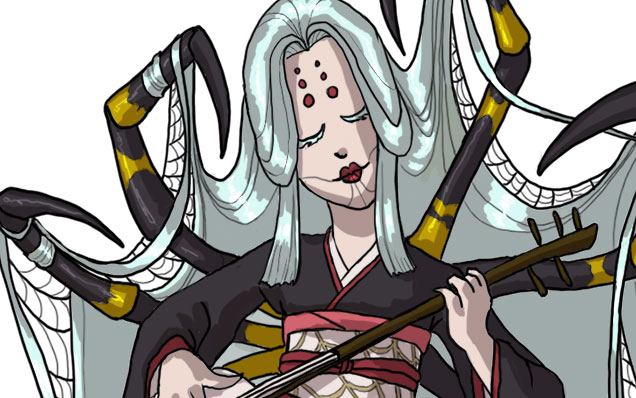
Today I’ll be talking about how I created Spider for the 30 Day Monster Girl Challenge.  For my version of spider, I went with a Japanese inspired Jorōgumo.

The Jorōgumo is a mythological creature from Japanese folklore which was known for luring virile young men to their lairs, charming them with food and music, then binding them up in their webbing so they could devour them.

Jorōgumo means “binding bride” or “whore spider”, but is also a word which refers to a particular species of golden orb weaver spiders in Japan.  For more info on this fascinating folklore, check out www.yokai.com

Tools and Techniques

For this painting, I used Photoshop CC and a Wacom Cintiq 21UX.

Concept Inspiration

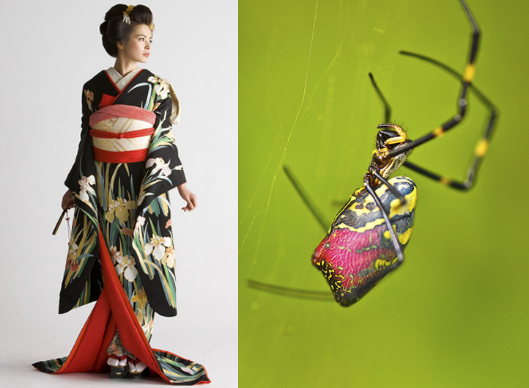
I took a lot of visual inspiration from the golden orb weaver (nephila clavata) of Japan.  My Spider has many of the same markings as decorative designs on her kimono and her color palette echoes the spider’s.  Her kimono is also inspired by a bride’s as a nod to the “binding bride” namesake.

References

A selection from my references. I had many more of the spider from multiple angles, but I’ll save you the nightmare fodder!

References for Spider


Process

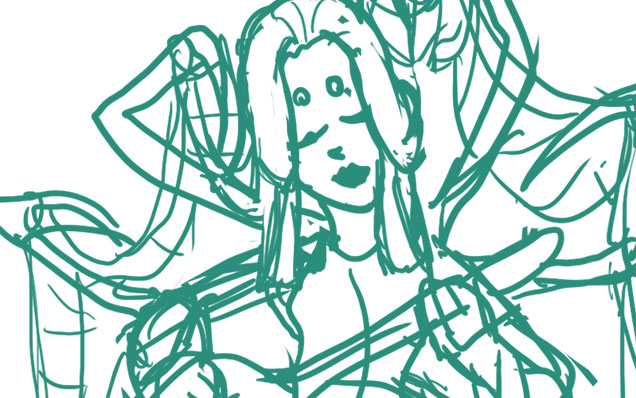
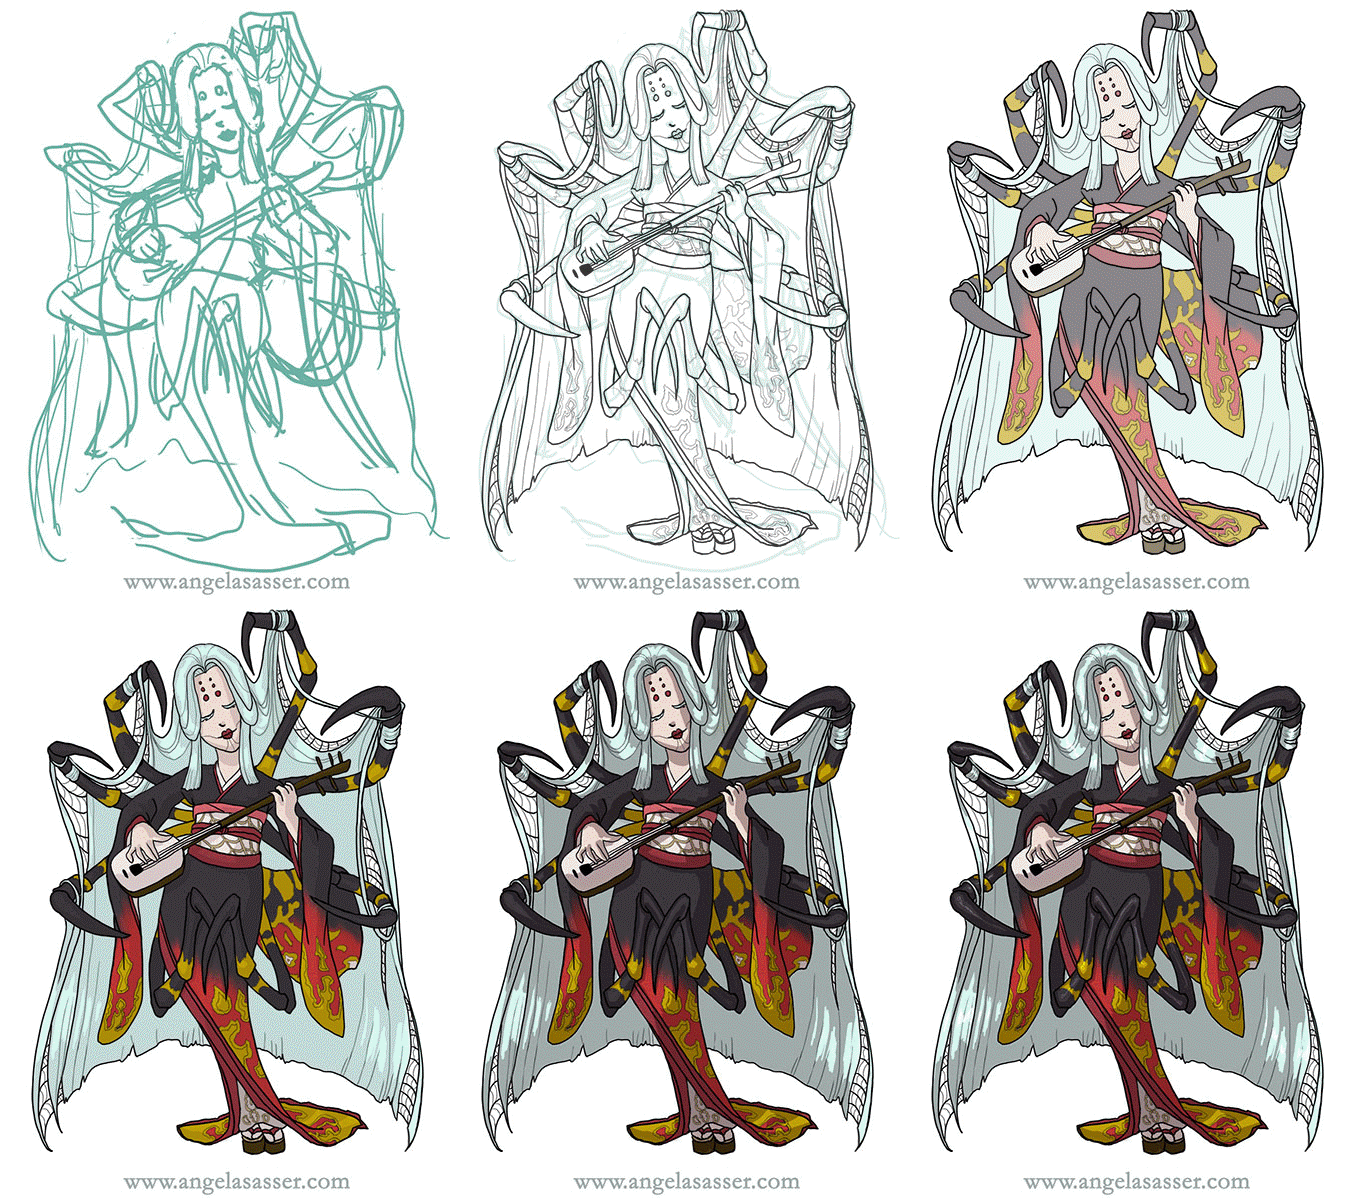
Phase 1 – I doodled a rough sketch in turquoise to make it easier to see when I inked on top.Phase 1 Spider


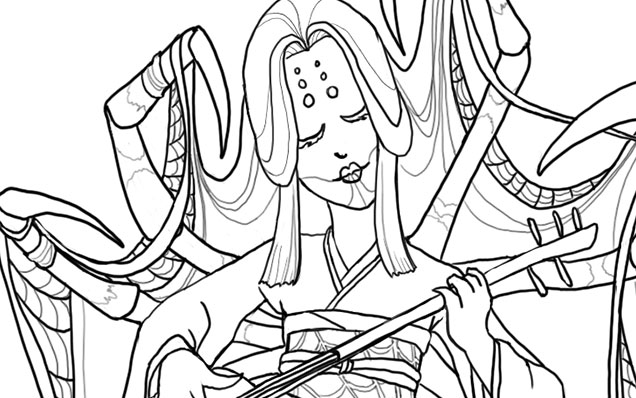
Phase 2 – Line art created with a hard round brush.

Phase 2 Spider


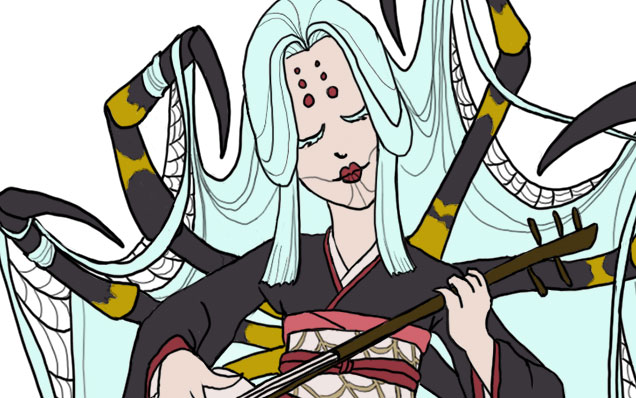
Phase 3 – I laid in flat colors using the selection magic wand to select areas and Edit>Fill.

Phase 3 Spider


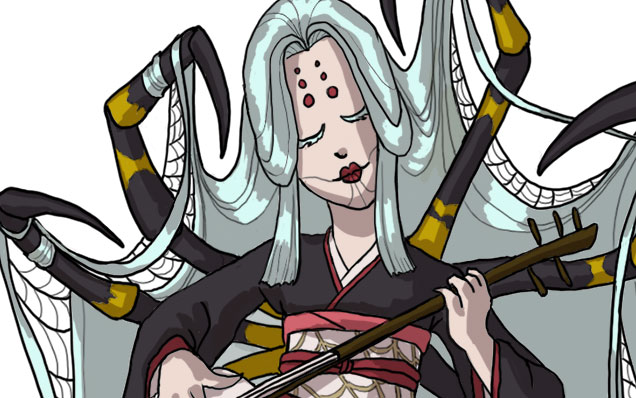
Phase 4 – A shadow layer set to Multiply was created that was clipped as a mask to the entire Group of colors.

Phase 4 Spider


Phase 5 – A final touch of highlights was added with white. The highlight layer set to Overlay.

Phase 5 Spider


Animated process GIF.
You can also watch a sped up time lapse video of the process here.

Animated Process GIF - Spider

For more in-depth instruction on how I created this image plus a downloadable PSD of the image, Pledge $10 and up on my Patreon to gain access to the narrated video tutorial!  You can also buy the individual tutorial separately at my Gumroad shop, but you won’t receive the extra art goodies you would by purchasing via Patreon.
You can watch a preview of the narrated tutorial here:

https://youtu.be/OHf8UKguL-I