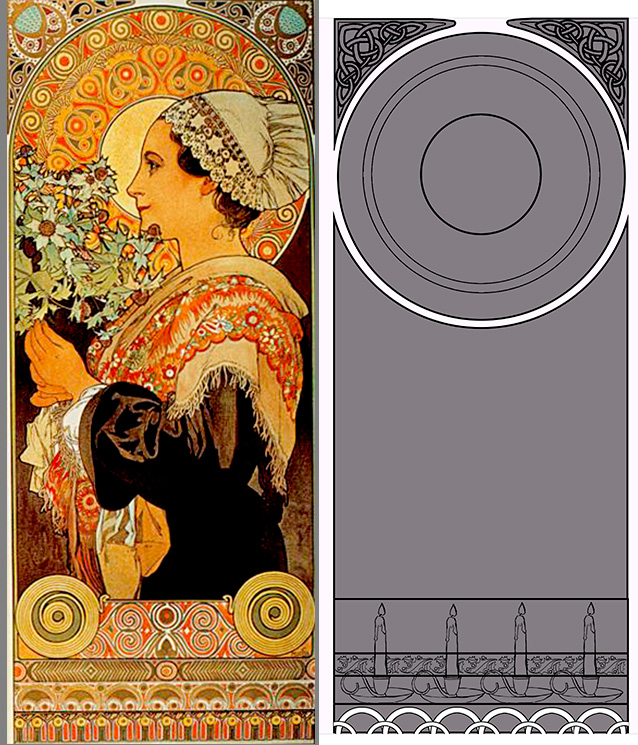
Before I get sucked into character details, I have to first design the frame, which I quickly do by drawing shapes in Photoshop. I set the layer with the grey shapes that form the frame to the Blending Option, Stroke, which creates an outline around the shapes that I don’t have to manually draw myself.
I used similar partitions for the division of the frame to Mucha’s piece (why change a working formula?). The corner knotwork, holly border, and candles were all designs I created once, then replicated multiple times and repeated across the piece. Working digitally makes this preliminary work a lot faster
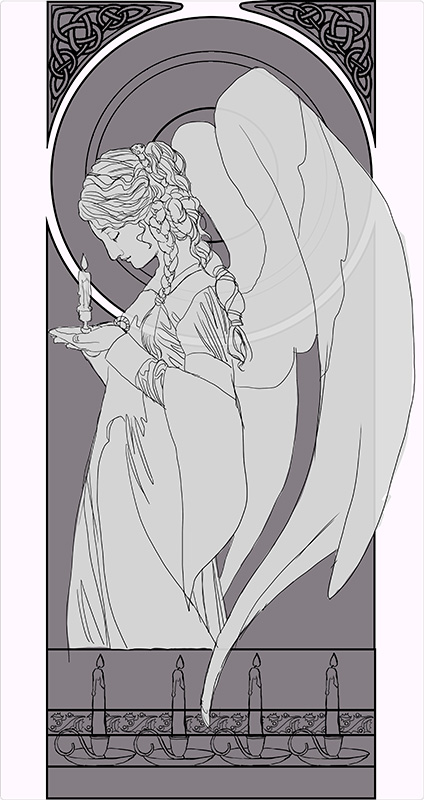
A quick sketch helps me establish how I want the figure to flow through the frame and also aids with refining the rather wonky anatomy of the original thumbnail sketch:
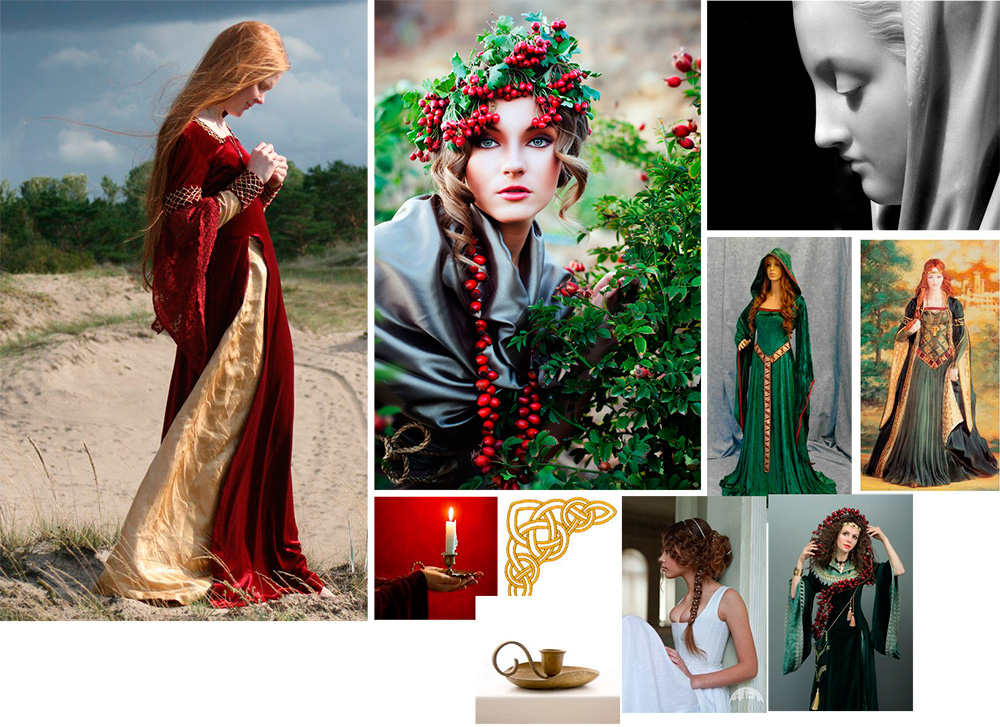
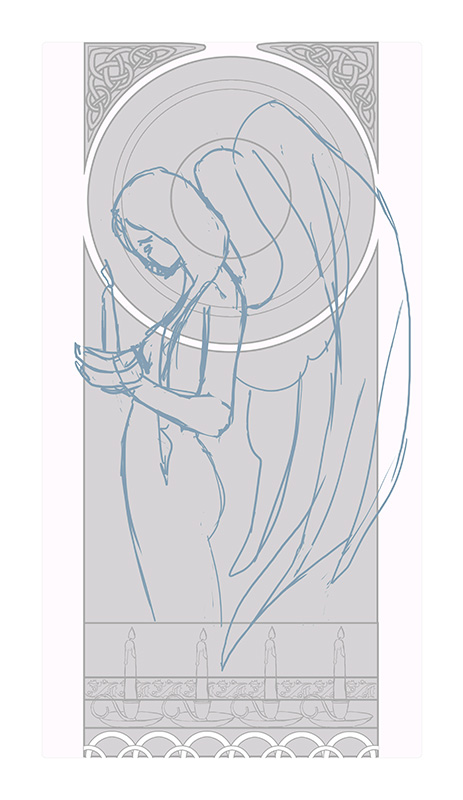 Further reference gathering helps me collect images of candles, velvet dresses, wings, and poses that will help me make this pose look less fudged. I lean on Pinterest very heavily for this purpose and am constantly gathering inspiration on a daily basis for my projects.
This is a VERY important step! There’s nothing that can ruin a painting faster than a completely fudged pose that just looks ‘off’, unless you are very, very experienced and have done so many studies you can draw things from memory. This is rare even for the best of artists, mind!
Gathering reference can also help you save time revising later because you didn’t get that hand quite right or didn’t get the drapery quite right. The trick is uniting your references and reinterpreting them in such a way that you still have something unique and you don’t lose the energy of your rough sketches.
I eventually arrived at something like this for the base sketch. At this point, everything is still on its own layer in Photoshop to allow me to re-position any element I please:
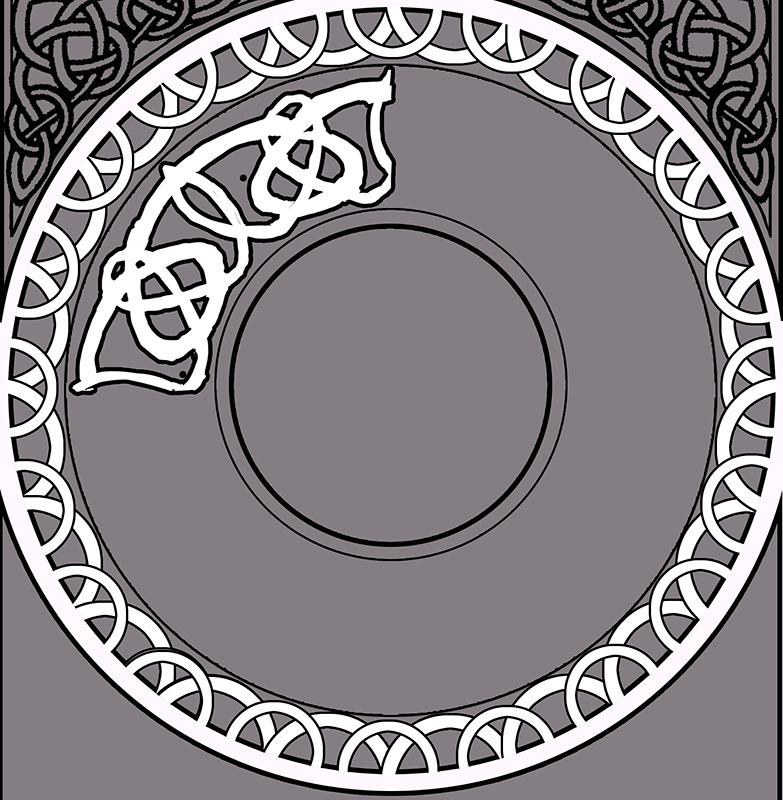
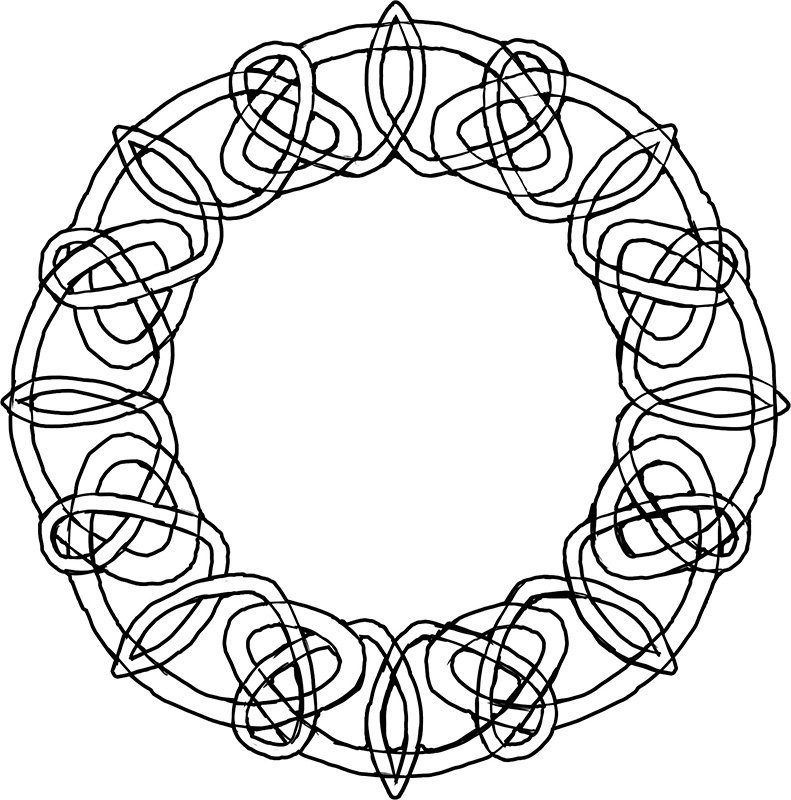
Now, designing the window! The window knotwork begins with a freehand sketch that fills up 1/4th of the circle. This 4th is then copied, pasted, and flipped horizonatally so the design is symmetrical. I use the layer’s Blending Option set to Stroke again to create an outline automatically while I draw.
Admittedly, I’m not very structured with my circular knotwork. I sketch until it looks right, rather than drawing guidelines and graphs.
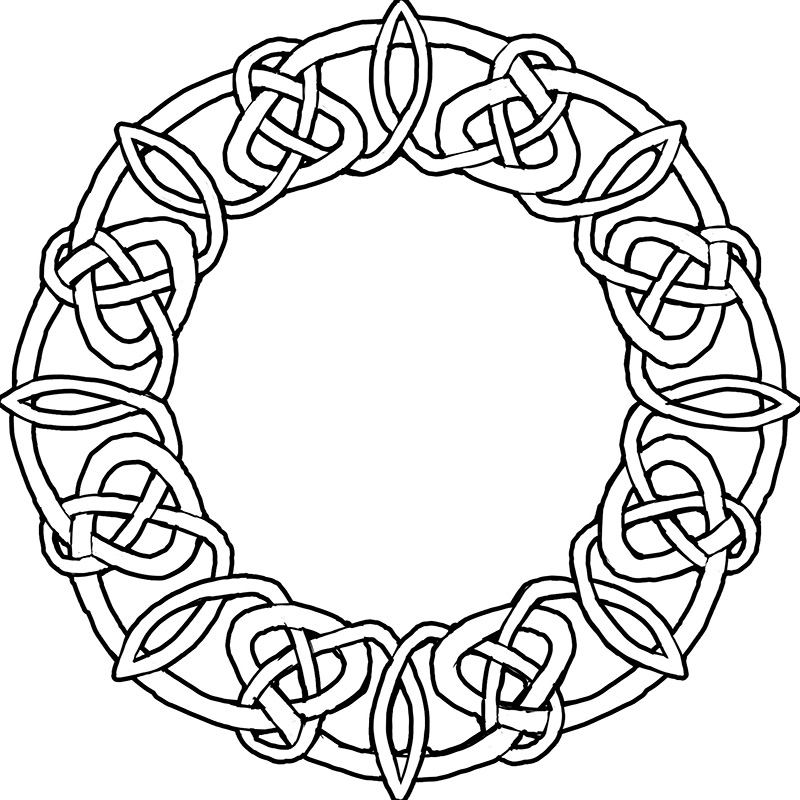
I wanted the design to emulate a snowflake with the radial spires, so I made sure the main junctures had points in the most important places (the center lines of the shape). I also wanted a thicker strands in this design to help fill up the space, since a design with too many thin strands would start to make the background window too busy and distract from the main character. I used two total strands for this design, a thin strand and a thick strand.
Next, I lock the transparency on the layer and draw all the intersections of the knots. The locked transparency keeps me from drawing outside of the shape. The reason I draw the knots as if they were invisible is to help me clean up the angles of the strands and intersections, which were a bit sloppy before. You can see towards the bottom of the circle where the knots are still sloppy.
Next, I meticulously defined the underlap/overlap pattern of the knots. Traditionally, knotwork always has a pattern of any one strand going over and under. I broke this pattern somewhat so the radial spires stand out, bringing emphasis to the snowflake shape.
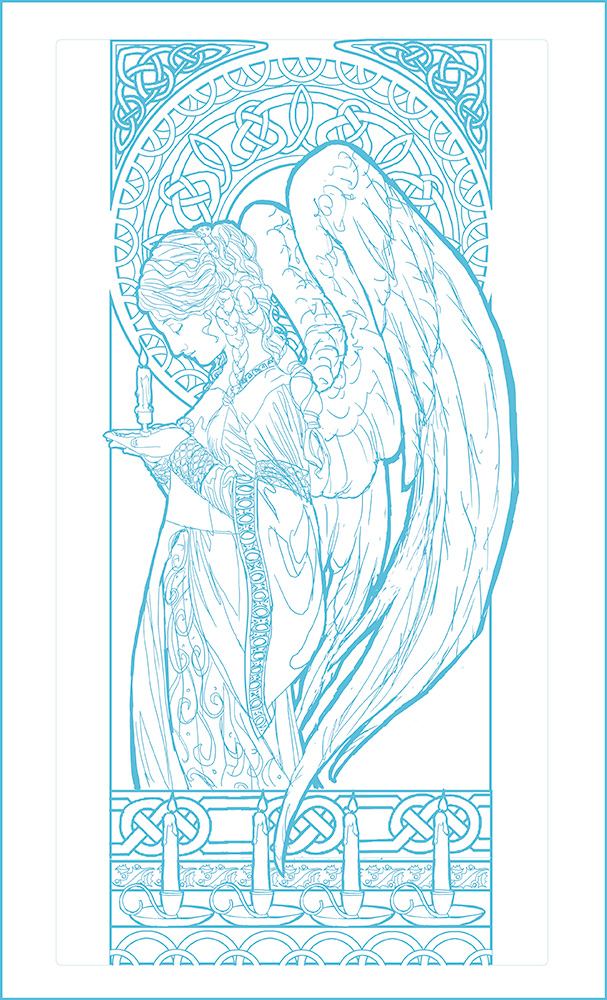
Phew! That was a lot of tedious detail (and I loved every second of it!). A few cups of coffee later, here’s the finished line art! I’ve changed the line work to blue so as to make it easier to tell which areas I’ve transferred when I’m transferring this to illustration board. This line art is still a little rough as well, since I’ll be cleaning those lines up once she’s been transferred to the board.
Next up: The finished painting!
Back to Part 1
