The last process post for the Snowflake Lady talked about choosing stock reference, line art, and sketch transferring. Now, it’s time to get to the fun part – coloring!
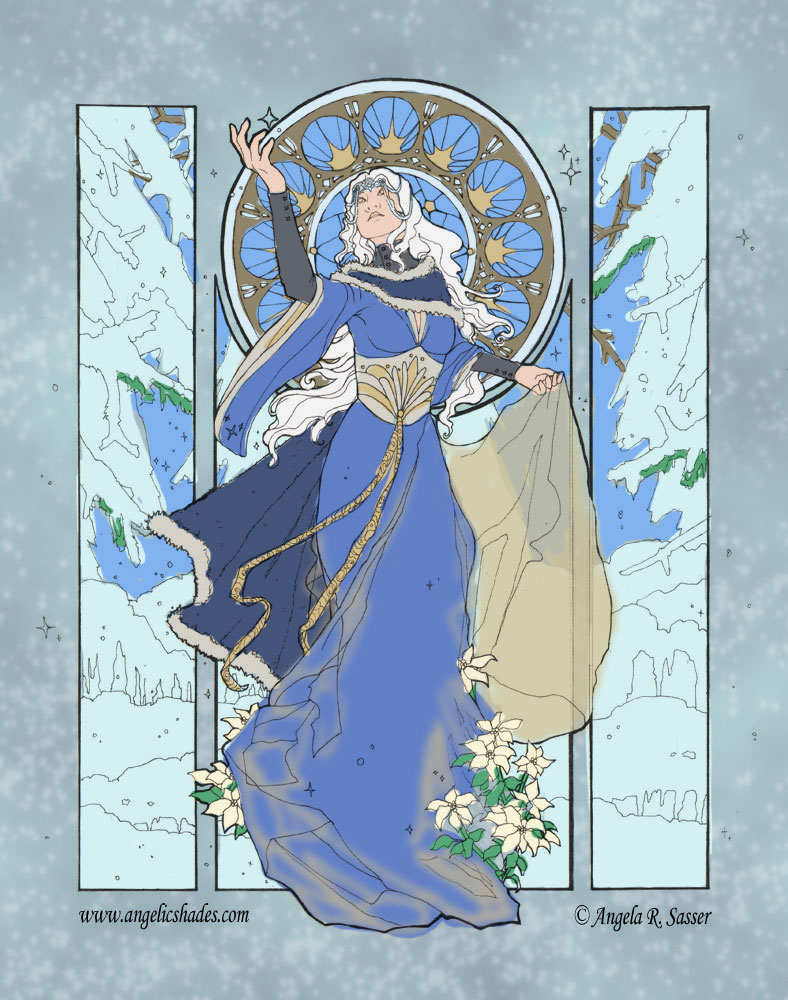
Most of the time I like to start off with a color test which is made very quickly in several layers in Photoshop. I like to keep the background, important parts of the figure, and important wardrobe details on their own layers so I can tweak the colors individually till I’m satisfied.
A tip to arrive at color schemes you might never have thought of is to flatten your image and play with the Hue slider under the Adjustments>Hue/Saturation menu in Photoshop. This option lets you change the colors in your image without messing around with your shading or line integrity.
I don’t do a color test for EVERY image I paint, however! Sometimes it’s fun to let the colors develop organically. Other times, I’ve spent so long inking or sketching the image that I’m afraid to mess it up, so I do all the prep I can before touching it.
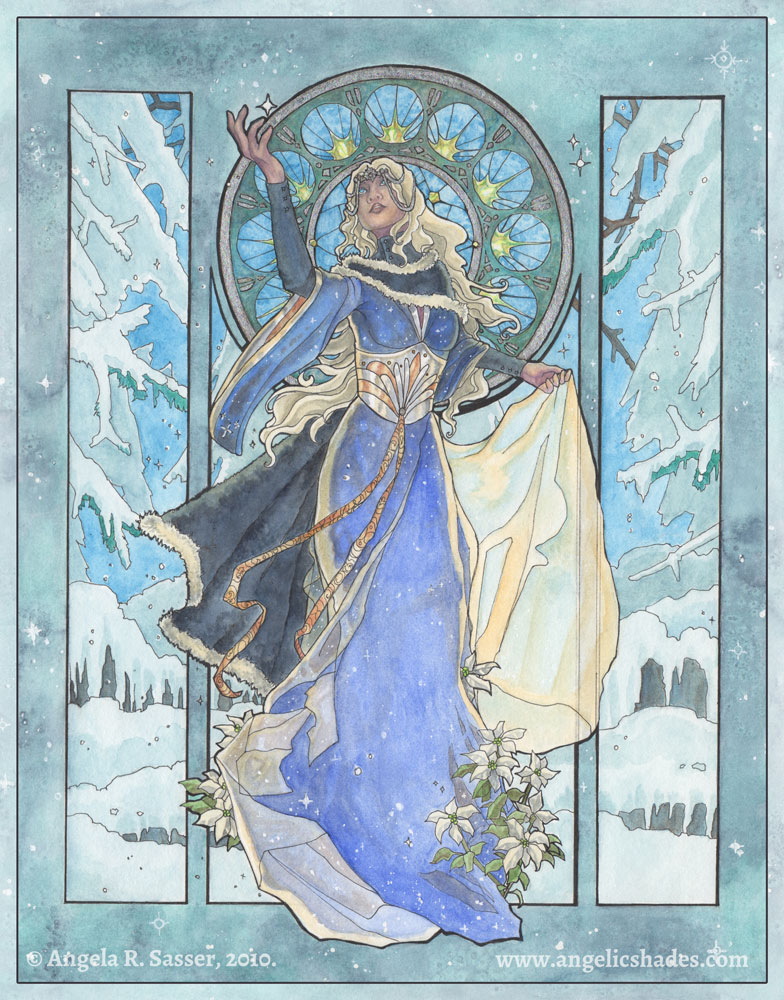
With nerves steeled, painting begins! She was a very tough customer because all the blues were fighting for dominance. The original idea to make the inner window pane an antique gold failed horribly and just didn’t gel with the rest of the image. I ended up having to layer various blues to make the window colors harmonize with the rest of the image. I also used the wrong shade of yellow for the starbursts in the stained glass, which still stand out awkwardly to me.
Just goes to show you that sometimes pictures don’t work out the way we want, no matter how much planning is involved! At the very least, watercolors are forgiving in that their translucency allows you to lift color and layer till you can get your colors talking nicely to one another, even if the first color put down is just butt ugly. I ended up pushing the pale yellows as a way to make the figure pop out more and to unify the overall colors more than originally planned in the color test. I used white gel pen and silver leafing to add the final touches of snowflakes and shine in the window tracing and throughout the image.
For a more detailed step-by-step of my painting process, I refer you to my upcoming book, Angelic Visions! Meanwhile, enjoy the finished Lady Snowflake:
| Greeting Cards | Post Cards | Prints |