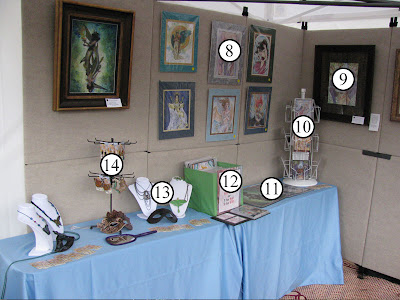
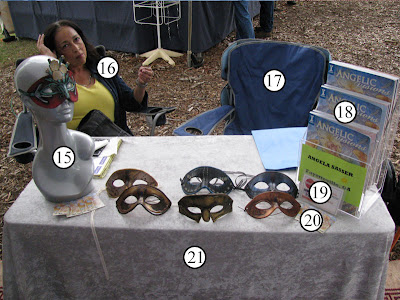
So now for something completely different! With the art fair season nearing and so many folks expressing their thanks for the usefulness of the Evolution of an Artist Alley Table posts, I thought it high time to post my art fair diagrams!
Mind, that this display is my very first setup and will probably change down the road as I learn, improve, and add things. Let this journal act as a record of where I began and hopefully as a tool for others looking into selling at fairs!
You might recognize some of these items and descriptions from the Artist Alley diagrams because I totally believe in re-using things where possible.
 |
| My first fair on Fayetteville’s courthouse square! |
1. EZ Up Tent – This tent is a great first tent for those who don’t want to spend the $1k that most of the Craft Huts cost! It can be set up by one person, is white (as per most art fair requirements), and fairly easy to transport in its included roller bag. Here is a video on how to set it up with one person (because I didn’t find the included instructions very helpful). Be warned, however, as this tent is light and is known for blowing away and wreaking havoc! I snagged some velcro weight bags which you can fill with sand or gravel and that strap to the poles so people won’t trip over them. ($200 at Sam’s Club)
2. Retractable Vertical Banner – A pricey item, to be sure, but the fact I don’t have to carry around a big pvc pipe set nor have it taking up space in my car makes this item well worth it! This vinyl banner pulls out from and retracts back into a spring loaded base that is about as big as a tabletop easel and very lightweight. I’ve lashed it to the tent pole using velcro straps so it wouldn’t blow away. Mine was printed by my brother’s sign shop. ($300 at Graphic Signs Atlanta for stand with metal base. $100 for cheaper version at Staples)
3. Propanels – After much debate over whether to get carpet panels, roll up mesh panels (which are about half the price), or to jerry-rig my own from something, I decided to go all-out with Propanels. Mesh panels, while collapsible and therefore more transportable, were still about $1k after all was said and done. I also can’t use mesh panels without the support of the tent’s rafters, whereas Propanels can stand on their own, making them useful for any cons or shows I do without a tent. The ‘knock down’ variety of panels pictured here can be split in half and transported far more easily than the full panels, even if I’m still having trouble fitting them in my teeny hatchback. ($2k from Propanels.com for the Booth A setup with Knock Down Panels plus required hardware. I owe my family favors for the rest of my life for this one. Ouch.)
4. Tables with Table Cloths – The two small display tables on the left of the picture are actually tail gating tables bought from Big Lots for cheap which fold up and have an easy carrying handle. They were super light, however, so I had to weight them down with objects on top. The table cloths were just scrap bits of material thrown on last minute, I admit. The larger table on the right is a white plastic table bought from Sam’s Club that folds up and can also be carried. It is a bit heavier than the tail gate tables and doesn’t really need to be weighted down. ($20 – $30 at Big Lots and Sam’s Club.)
5. Easel with Signage – The stand up easel was purchased at Joanns Fabrics and is just a simple cheap wooden one without any bells and whistles. The sign was printed on foam core by my publisher and was eventually replaced in this setup with a piece of framed art instead. I’m fairly sure you can get foam core signs like this at Kinkos or other printing places. ($10 at Joann’s Fabrics)
6. Folding Canvas Print Bin – This is the medium sized print bin available from Dickblick. Prints ranging from 11×14 in. to 18×24 in. look best in it. I noticed most people would stop and flip through it rather than venture into the tent. Note to self – MOAR flip through bins for people! Folks looove to browse through them for some reason. Folds up for easy transport. ($25 at Dickblick.com)
Stuff I forgot to include – The Carpet – I like the idea of a carpet in a tent. It feels so much more cozy, as if you’re walking into a little shop! It also made the ground a little more even for customers to walk on. We also used it to lay items on while we were setting up so they wouldn’t get muddy. My family picked this up in a flea market in Saudi Arabia years ago so I have no idea how much it costs.
This entry is going a bit long, so I’ll be breaking up this grand monologue on art fair display into parts.
Stay tuned for a closer look at the particular display items nestled within the tent next time!


